
Kimi Code Web is the browser-based graphical interface built into Kimi Code CLI. You launch it by running kimi web in a terminal or typing /web inside an active CLI session, which starts a foreground local server on http://127.0.0.1:58627 and opens your default browser while your sessions and data stay on your machine. In the browser you can start sessions, chat, click through approvals, inspect per-file diffs and search across workspaces. On a Mac or a Windows PC, Orbtile can also answer permission prompts and questions with listed options for sessions running in that server.
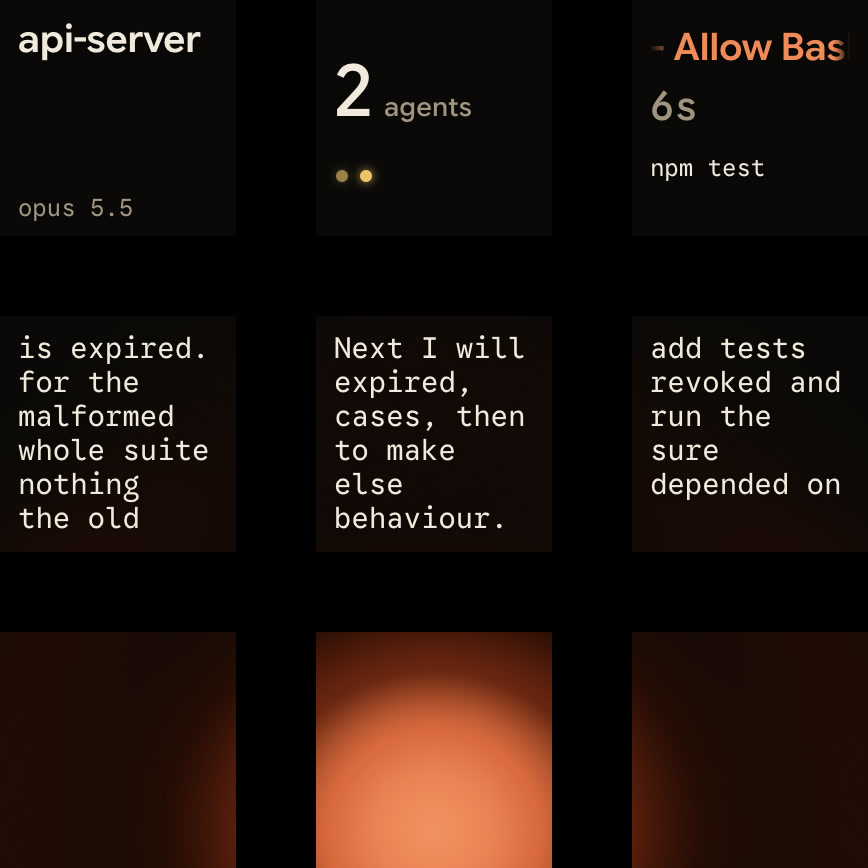
Start the Kimi Code web UI with kimi web or /web
kimi web is a built-in command of Kimi Code CLI, so you need to install the CLI and log in first. To sign in, use /login in the terminal TUI, or run kimi login for an RFC 8628 device-code flow without the TUI.
You can open the browser interface in two ways:
- Run
kimi webfrom your shell to start the foreground server and open your default browser. - Type
/webinside an interactive CLI session to hand your current session off to the browser.
In the interactive TUI, /web is available even while the assistant is streaming output. It lets you pick a running server to connect to, or starts a new foreground server after the TUI exits.
When the server is ready, it prints a startup banner in the terminal:
Local: http://127.0.0.1:58627/#token=...
Token: ...
Stop: Ctrl+C
If your default browser does not open automatically, copy the full Local URL from the banner, including the #token= fragment, and open it in a browser yourself.
How the local server process behaves:
- One foreground process serves the web UI and the REST and WebSocket APIs from the same origin.
- The process stays attached to your terminal and exits cleanly on
SIGINTorSIGTERM, for example when you pressCtrl+C. - If port
58627is busy, the server retries with the next port, up to 100 times. - Multiple instances can share one home directory.
Startup flags and bearer token authentication
You can change how kimi web binds to your network, opens the browser and names the browser tab with command-line flags:
kimi web
kimi web --no-open
kimi web --port 58628 --web-title "Checkout service"| Option | What it does |
|---|---|
--port <port> | Sets the port, 58627 by default, and tries the next port when it is busy |
--host [host] | Binds 127.0.0.1 by default, 0.0.0.0 when passed bare, or an IP address you give |
--allowed-host <host...> | Lets extra Host header values through the DNS-rebinding check, repeatable or comma-separated |
--no-open | Does not open the browser |
--log-level <level> | Turns on server logs at the chosen level, off by default |
--web-title <title> | Sets the browser tab title, the workspace folder name by default |
--debug-endpoints | Mounts /api/v1/debug/* routes, off by default |
--dangerous-bypass-auth | Turns off bearer-token authentication on all REST and WebSocket routes |
--remote-control | Starts Remote Control, equivalent to kimi rc |
The #token= fragment in the banner URL is the access credential that signs the browser in. Keep that URL private.
If you open http://127.0.0.1:58627 without the #token= fragment, the browser lands on a token input page. Paste the Token value from the startup banner to sign in.
If a token becomes invalid or you want to revoke an exposed credential, rotate it from your shell:
kimi web rotate-tokenHow token rotation works:
- The command writes a new persistent bearer token to
~/.kimi-code/server.token. - The previous token stops working immediately.
- Running instances pick up the new token on their next authentication check, with no restart.
How the web UI compares with the CLI and slash commands
Kimi Code Web and Kimi Code CLI share the same login state, config.toml configuration and session data. Sessions are stored under $KIMI_CODE_HOME/sessions/, which defaults to ~/.kimi-code/sessions/.
| Feature | CLI (kimi) | Web (kimi web) | How the web UI handles it |
|---|---|---|---|
| Streaming chat | Supported | Supported | Renders tables, code highlighting, diffs and tool cards incrementally |
| Session management | Supported | Supported | Archives sessions and restores them any time. Open, Done and Workspaces tabs are a Lab experiment, off by default |
| Approvals | Supported | Supported | Handles approvals with clicks in the UI |
| Background tasks | Supported | Supported | Shows live progress in the task panel |
| Files and changes | Supported | Supported | Shows a changed-files summary card and per-file diffs |
| Settings | Supported | Supported | Adds a settings UI for providers, account and usage, and Lab experiments |
| Global search | Not in CLI | Supported | Searches across sessions and workspaces |
| Mobile layout | Not in CLI | Supported | Works in phone browsers on the same network when LAN sharing is on with --host |
For how desktop alerts, Notification hooks in config.toml, NotifyUser progress rows and web UI notification toggles work, see Kimi Code notifications: hooks, NotifyUser and TUI settings.
The web UI supports only a subset of the CLI's slash commands. For other features, it uses point-and-click controls such as the settings page, the model picker and the account menu.
| Web slash command | What it does |
|---|---|
/new | Starts a new session |
/goal | Keeps working toward one objective across turns |
/compact | Compacts the current session's context |
/tower | Starts multi-agent collaboration (experimental) |
/export | Downloads session content and logs as a ZIP |
/remote-control | Turns on access to the local web session from elsewhere |
/export behaves differently in the web UI and the TUI:
- In the TUI,
/exportis an alias for/export-mdand exports the conversation as a Markdown file. - In the web UI,
/exportdownloads the current session as a diagnostic ZIP. - The web ZIP holds saved session data, diagnostic logs and a size-limited browser log,
logs/kimi-web.jsonl. - That browser log records metadata only and does not copy prompt text, WebSocket payloads or console arguments.
Share on a local network or over the internet with Remote Control
By default, kimi web listens only on 127.0.0.1, so only a browser on the same machine can open it. To reach your sessions from a phone, tablet or second computer, you have two options: LAN sharing with --host, or public internet access with Remote Control.
To share Kimi Code Web across your local network:
KIMI_CODE_PASSWORD="your-strong-password" kimi web --hostA bare --host binds 0.0.0.0 on all interfaces, or you can give a LAN IP address such as kimi web --host 192.168.1.10. Other devices on the same network open the LAN URL from the banner, such as http://192.168.x.x:58627/#token=....
Keep these LAN rules in mind:
- Set
KIMI_CODE_PASSWORDwhen you bind a LAN address, so the server rate-limits failed authentication attempts. - On non-loopback binds, 10 failed attempts within 60 seconds ban that source for 60 seconds with HTTP
429and code42901. - Never pass
--dangerous-bypass-authon an untrusted network, because anyone who reaches the port can control your sessions, file system and shell. - If a phone cannot connect, check the firewall and make sure neither device is on guest Wi-Fi, a VPN or a mobile hotspot.
For access outside your local network, Remote Control opens the same web interface over the public internet through the Kimi relay service. Start it with kimi rc (alias kimi remote), kimi web --remote-control, or /remote-control (alias /rc) inside a CLI session.
| Capability | Kimi Code Web (kimi web) | Remote Control (kimi rc or kimi web --remote-control) |
|---|---|---|
| Access scope | localhost, or the local network with --host | Any device on the public internet via the Kimi relay |
| Membership | Kimi Code CLI installed and logged in | A paid Kimi membership |
| Authentication | Local bearer token (#token=) | Log in with the same Kimi account, up to about 3 devices per account |
| Instances | Multiple instances per home directory | One instance per machine, locked at ~/.kimi-code/server/rc.json |
| LAN and auth flags | Supports --host and --dangerous-bypass-auth | Loopback only, and cannot be combined with --host or --dangerous-bypass-auth |
| Where tasks and files run | On your machine | On your machine, which must stay awake and online |
When Remote Control starts, it prints a device URL on code-rc.kimi.com for mainland China logins or code-rc.kimi.ai for global logins. It also shows a QR code in the terminal and saves the same code as a PNG. Closing the browser leaves the task running on your machine. Pressing Ctrl+C in the terminal takes the device offline at once.
Drive sessions over the local REST and WebSocket Server API
The server started by kimi web also exposes a Server API. The docs mark it as experimental, so endpoints, fields and event types may change in any release.
- REST routes live under
/api/v1,/api/v2/sessionsand/api/v2/mcp. - Session events stream over WebSocket at
/api/v1/ws. - Live specifications are served at
/openapi.jsonand/asyncapi.json, and the live spec wins if it disagrees with the docs.
All /api/* routes and both specifications need the bearer token, except OPTIONS preflight requests, GET /api/v1/healthz and static web assets. REST requests send Authorization: Bearer <token>, while WebSocket clients can send that header or use the subprotocol kimi-code.bearer.<token>. A missing or invalid token returns HTTP 401 with code 40101.
Every JSON response has code, msg, data and request_id fields. A code of 0 means success, and the HTTP status is usually 200, so check code. To try it, confirm the server responds:
curl -s -H "Authorization: Bearer $TOKEN" http://127.0.0.1:58627/api/v1/metaThen create a session with POST /api/v1/sessions, passing the working directory in metadata.cwd. Error 40931 means another Kimi Code process is writing to the session right now, so wait and retry.
Watch and answer Kimi Code web sessions with Orbtile
On a Mac or a Windows PC, Kimi's own server is also what lets Orbtile send approvals and answers with listed options back to Kimi Code from the keypad.
Orbtile runs on a computer with macOS 14.0 Sonoma or later on Apple silicon, or a Windows 11 PC (x64). On Windows, Kimi Code is supported from Orbtile 0.3.6. Orbtile shows every coding-agent session on a Logitech MX Creative Keypad, or on an Android phone running Android 8.0 or later with Orbtile Mobile.
- Nothing needs to be installed for Kimi Code sessions to show.
- Orbtile reads Kimi Code's session files on your computer to show each session's state and live text.
- Working Kimi Code sessions glow magenta, while waiting sessions turn terracotta and move to the front.
- A tap on a session key brings its terminal or Kimi window to the front.
- A tap on key 9 focuses the first waiting session, including sessions on other pages.
- Optional Kimi Code hooks, chosen in Settings > Agents, add a Compacting state and never approve or deny anything.
Orbtile reads the session index, each session's state.json and the last 2 MiB of its main wire log, all in ~/.kimi-code (%USERPROFILE%\.kimi-code on Windows). KIMI_CODE_HOME overrides this folder. To answer through Kimi's own server, Orbtile also reads the server's registration files in server/instances/ and its access token, server.token.
How keypad answers work for Kimi Code sessions on a Mac or a Windows PC:
- Start the session in Kimi's own server with
kimi weborkimi rc, or type/rcin a Kimi terminal session. - When a permission request arrives, hold the glowing session key for 0.6 seconds to open Focus mode.
- Press Deny on key 7 once to decline, or hold Allow on key 9 for 0.6 seconds while its ring fills to approve.
- The keypad can answer a permission request for up to 2 minutes, or less if Kimi Code's own limit is shorter.
- After that, the key shows Answer on computer.
- For a question with listed options, pick options on keys 1, 2, 3 and 7, then hold Send on key 9.
- Other Kimi Code sessions, other questions and written answers show their state on the pad, and you answer them on your computer.
Kimi's Server API is experimental. If a Kimi Code update changes it, keypad answers stop until Orbtile catches up, and your sessions still show. The same keypad or phone also shows Claude Code, Codex, ZCode and Antigravity desktop app sessions side by side. See Approve agent tool calls without switching windows for how keypad approvals work across every supported agent.
FAQ
How do I start the Kimi Code web UI?
Install Kimi Code CLI and log in first, then run kimi web in your terminal or type /web inside an active CLI session. The server starts in the foreground on port 58627 by default, prints an access URL with a token fragment, and opens your default browser. Press Ctrl+C in the terminal to stop it.
How do I fix an invalid token in Kimi Code Web?
Run kimi web rotate-token in a terminal. This writes a new persistent bearer token to ~/.kimi-code/server.token, and the old token stops working immediately. Running server instances switch to the new token on their next authentication check, with no restart.
What is the difference between kimi web and kimi rc?
kimi web serves the browser interface on your machine, or across your local network when you add the host flag, using a local bearer token. kimi rc, or kimi web with the remote-control flag, opens the same interface over the public internet through the Kimi relay service. It needs a paid Kimi membership, and remote devices log in with the same Kimi account.
Why does Orbtile need kimi web or kimi rc for keypad approvals?
Orbtile shows all local Kimi Code sessions by reading Kimi Code's session files, but it sends Allow, Deny and listed-option answers through Kimi's own server. Starting a session with kimi web or kimi rc, or handing it over with /rc, lets you answer supported permission requests and questions from the keypad, on a Mac or a Windows PC.